
Dragging File Paths into the Save Dialog
If, like me, you’ve used Windows for many years and then switched to macOS, you probably discover some of its hidden practical features over time. Today’s tip is about copying a file path into the “Open,” “Save,” or “Save As” dialog windows using Finder.
In many of the applications I use daily, I often need commands like “Open” or “Save” from the File menu. Keeping files organized requires a clear naming system and a well-structured folder hierarchy. Since I don’t want to save every working file directly to the desktop, I usually need to dig through multiple nested folders.
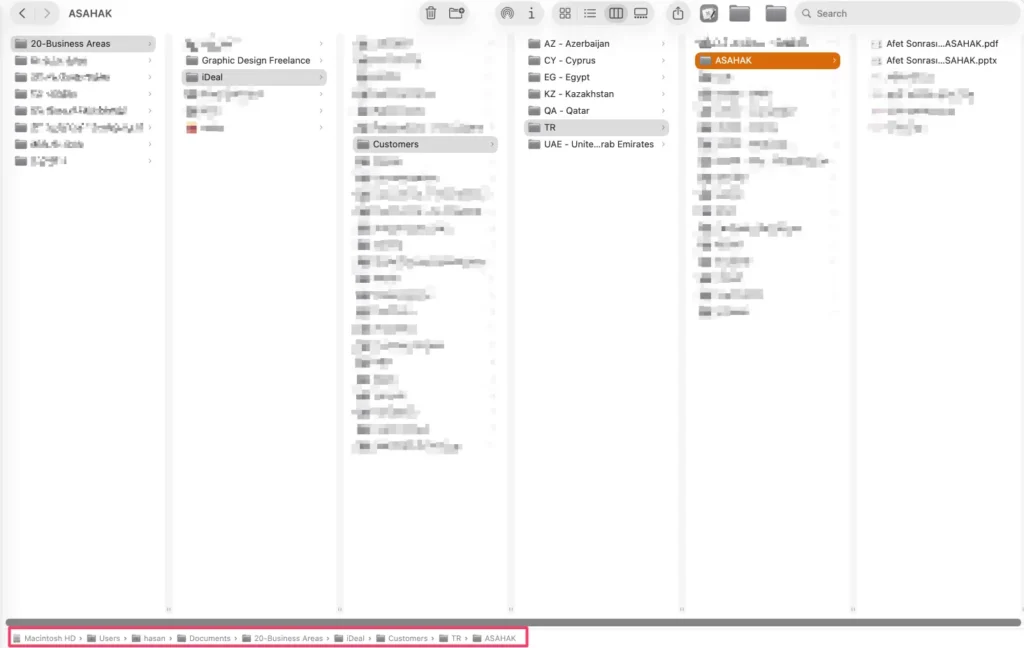

For example, after working on a project document, I may need to save it under a path like:
Projects > Country Code > Client > Project Name > Document Type
This takes 4–5 clicks each time just to reach the right folder.
To make this process simpler, here’s what you can do:
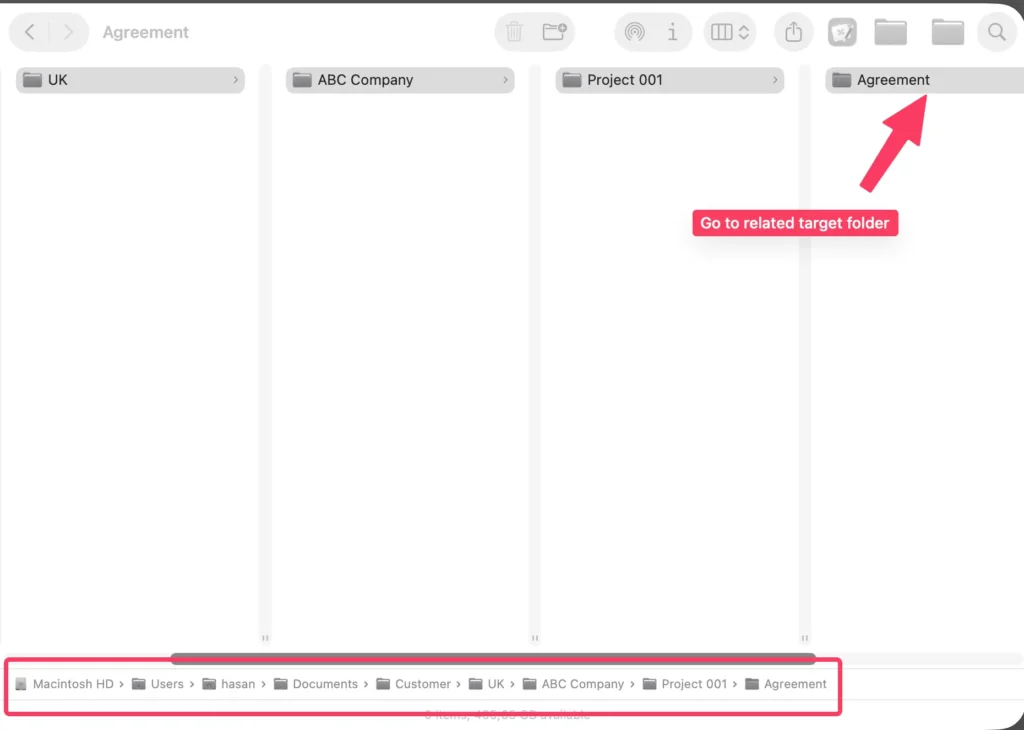
Open the target folder in Finder and keep that window open.
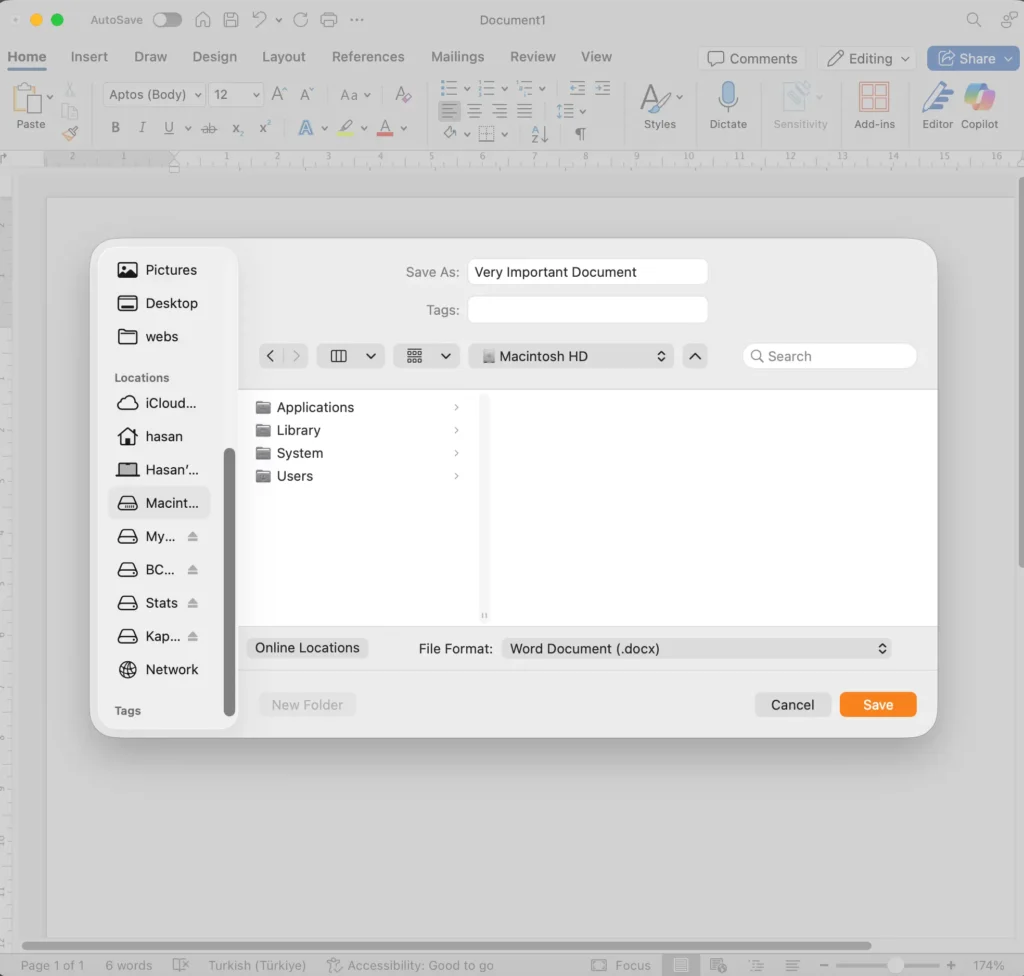
Let’s say we are preparing a document in Word and want to save it into this folder. The Save dialog will look something like this:
Now, just drag the folder icon from the title bar of your already-open Finder window and drop it onto the Save dialog.
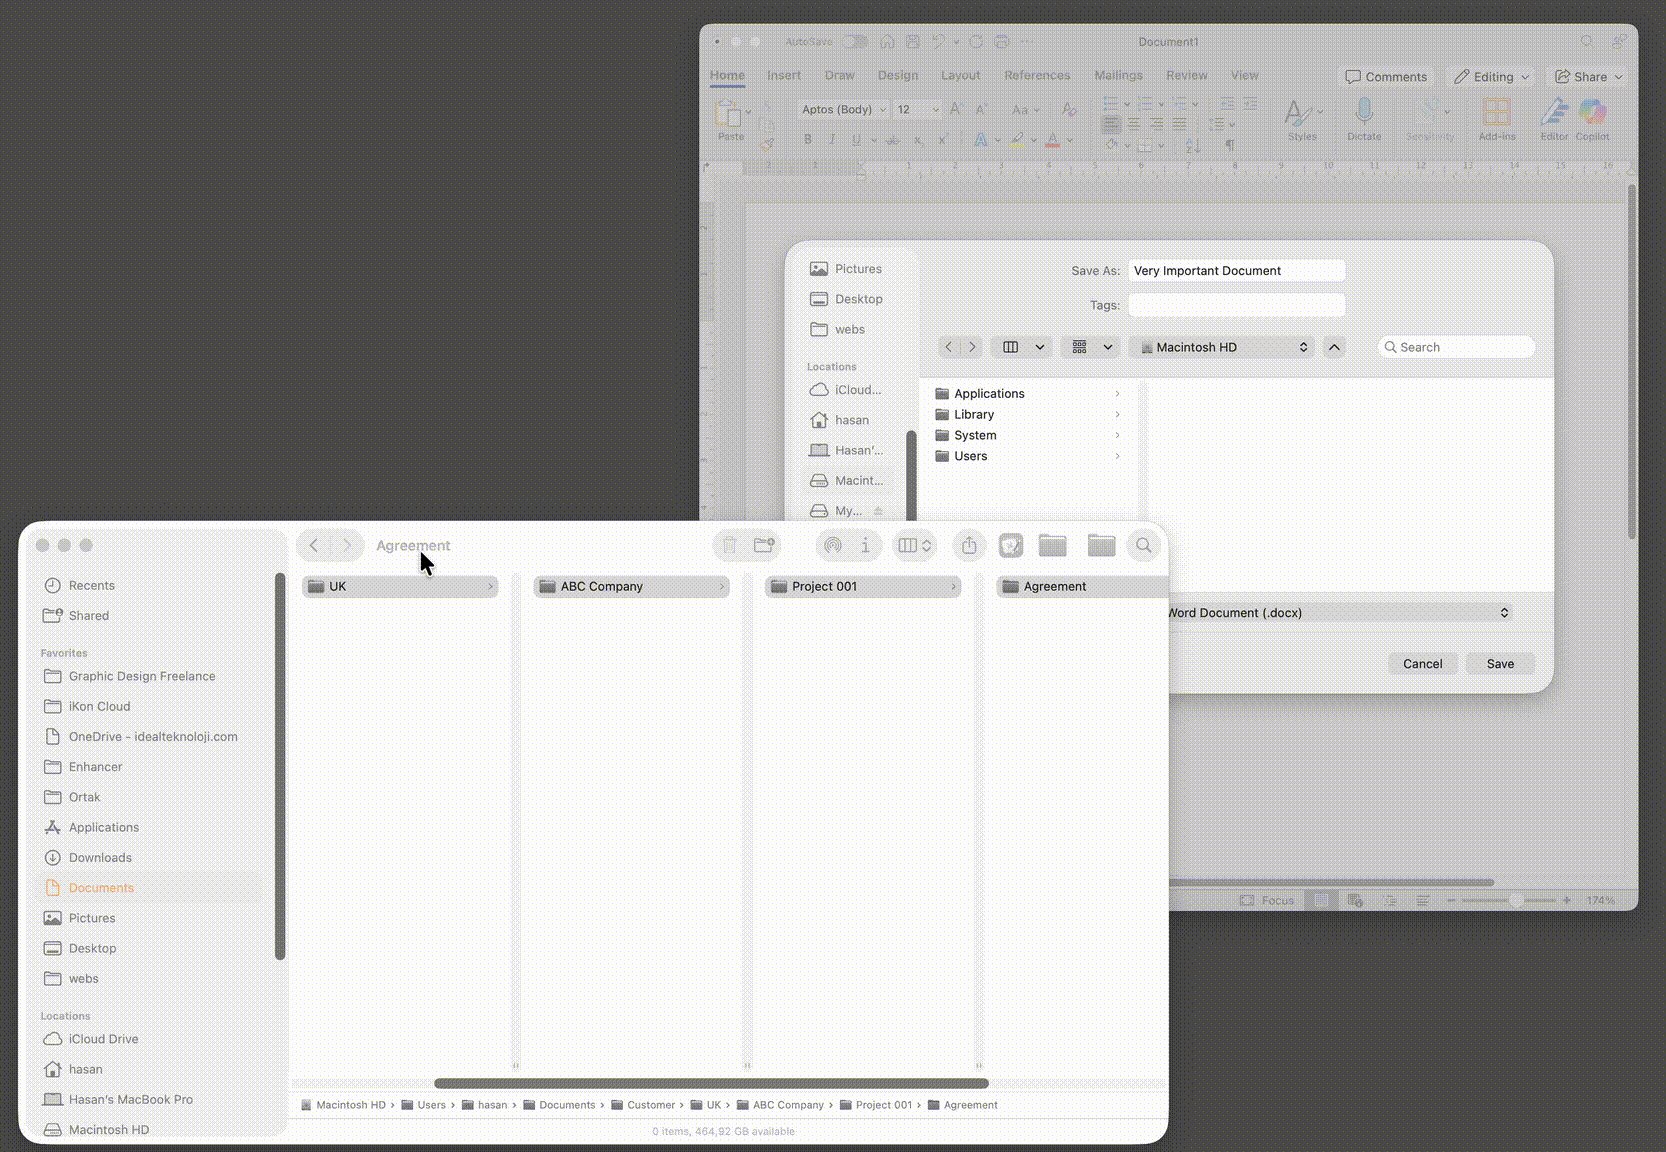
The target folder in the Save dialog will immediately switch to the folder path you dragged.
That way, by keeping the project folder open in Finder, you can quickly save files from Safari, Word, Keynote, or any other app directly into the correct project folder—without all the extra clicks.

